Key takeaways
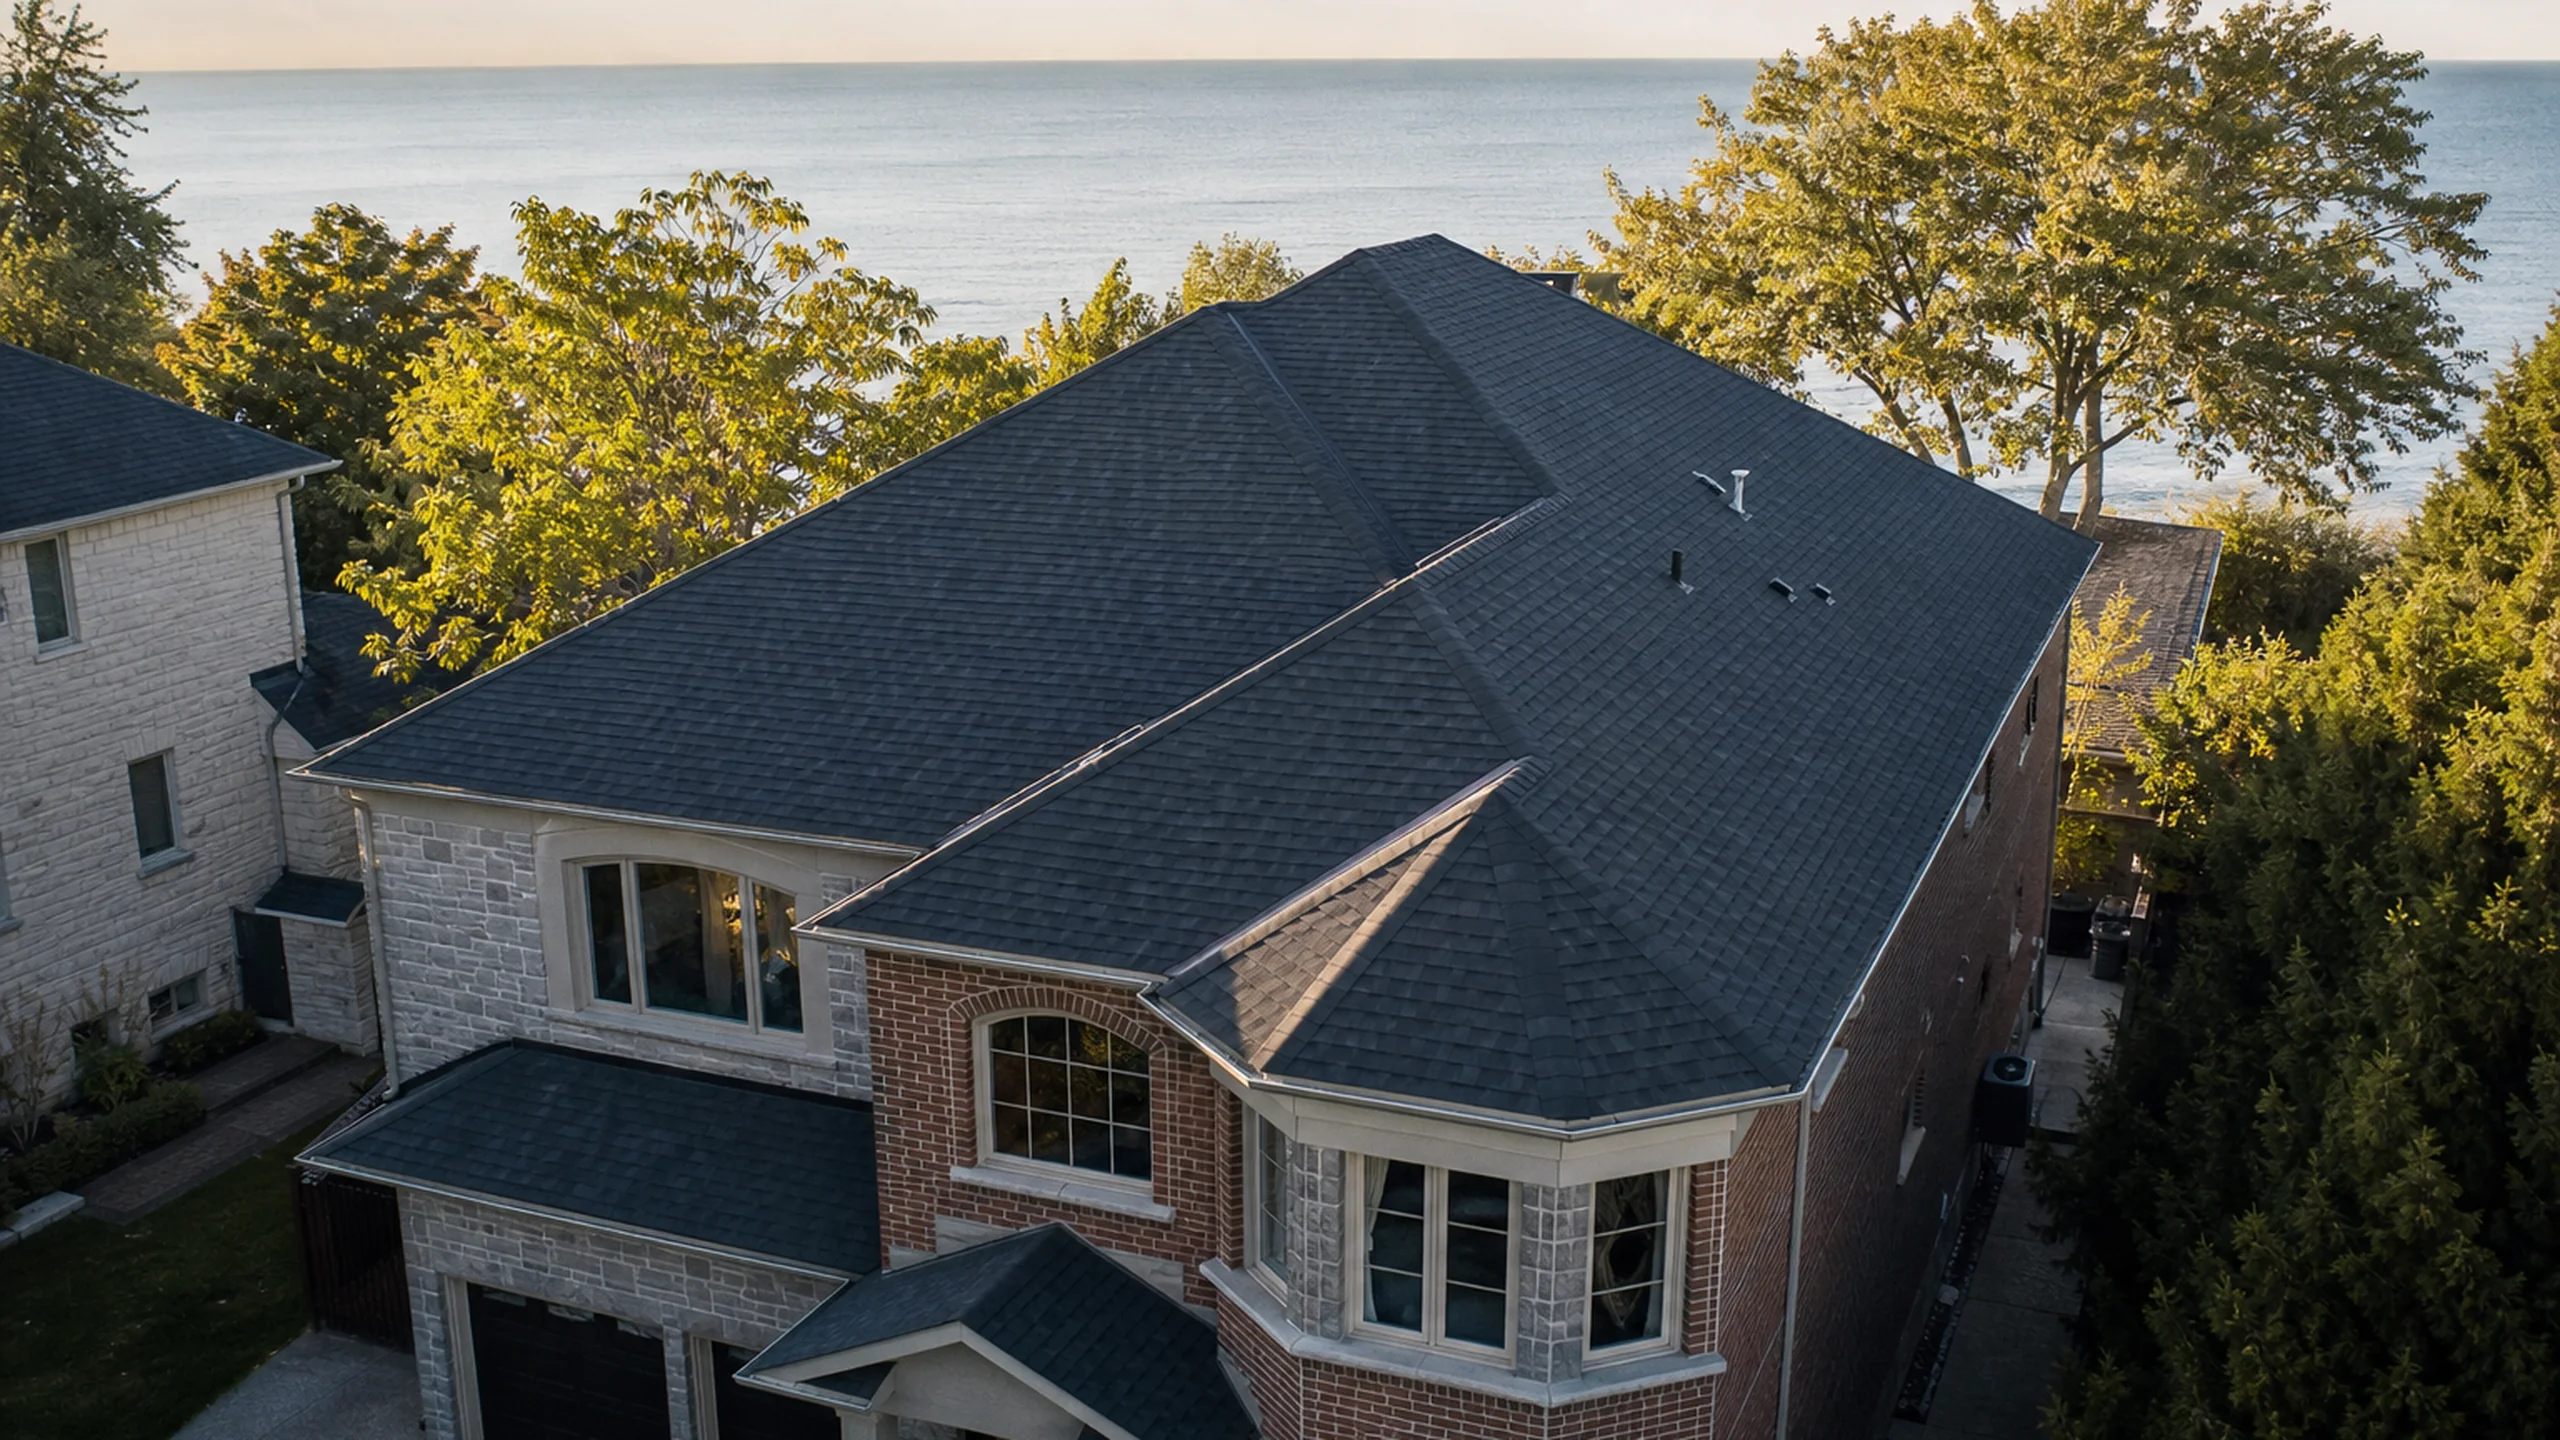
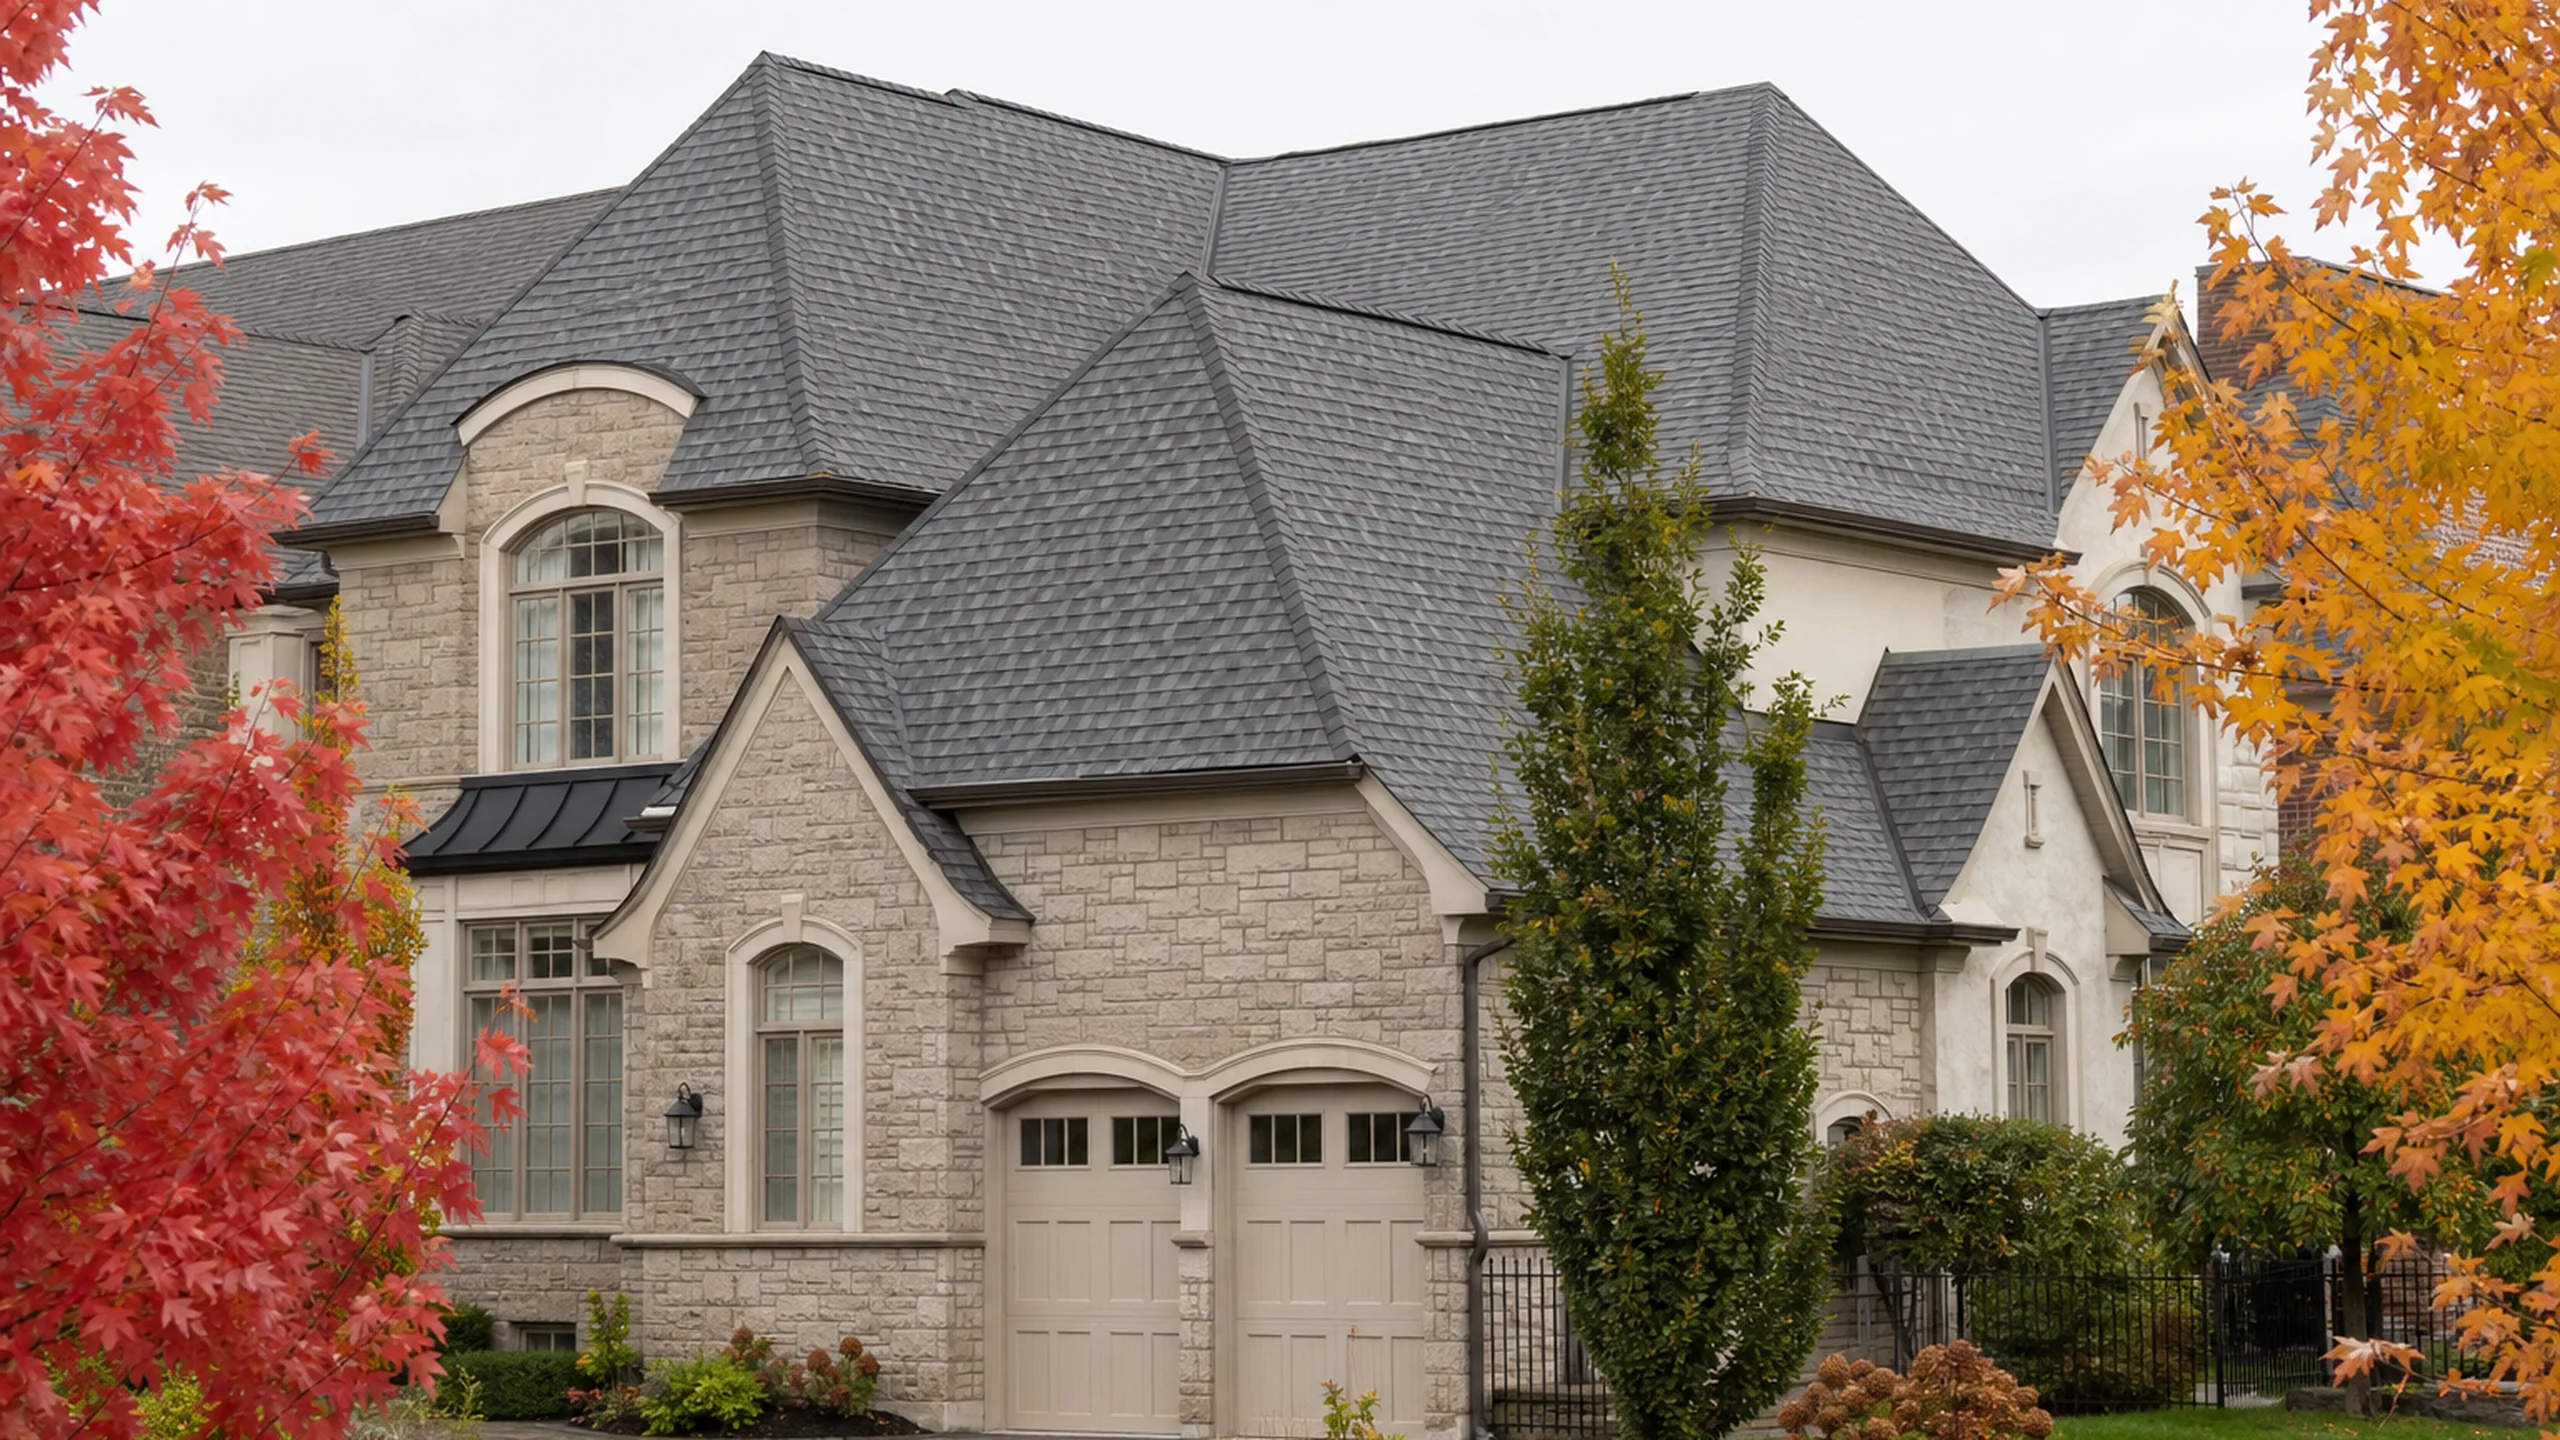
- 4,000 sq ft executive home in Thornhill: full shingle replacement, attic spray-foam upgrade, chimney rebuild.
- Bundled into a single seven-day window with three crews working in sequence.
- Attic R-value increased from roughly R-22 (degraded blown cellulose) to R-50+ with closed-cell spray foam.
- Chimney crown had failed years earlier; rebuilt with new flashing tied into the new roof.
- Doing all three at once saved the owner on access costs, lift rentals, and dumpster days — roughly the cost of the chimney rebuild alone.
Why bundle the roof and the attic
When the roof comes off, the attic is the most accessible it will ever be — from above and from below. Most homeowners don't realize that. They replace the roof, the contractor leaves, and then a year later they realize their heating bill didn't drop and they call an insulation contractor who quotes them a fresh attic access setup.
Bundling the work means:
- One set of access logistics (lift, scaffolding, dumpster)
- One crew transition between trades — coordinated, not scheduled six months apart
- No risk of damaging brand-new shingles to install insulation later
- Chimney work happens in the small window when roof flashing is already open — way easier than retrofitting around new shingles
For this Thornhill home, the chimney rebuild alone would have been roughly $4,500 more if we'd come back for it separately — staging, masonry crew mobilization, and re-flashing a finished roof.
Day-by-day sequencing
Real-world day plan from this project:
- 01
Day 1: Tear off shingles, expose deck, inspect for damage. Decking was solid — three sheets needed swapping at a chimney saddle.
- 02
Day 2: Underlayment, ice-and-water shield, drip edge, vent boots prepped. Chimney crown demolition begins — old crown was cracked through.
- 03
Day 3: Masonry crew rebuilds chimney crown, repoints the top three courses, installs new flashing pan. Insulation crew prepares attic — old cellulose vacuumed out where it had settled.
- 04
Day 4: Closed-cell spray foam applied to underside of roof deck (creating a conditioned attic space). Roof crew works opposite slope.
- 05
Day 5: Shingles installed over the slopes completed by the foam crew. Step flashing woven into siding at all sidewalls.
- 06
Day 6: Roof finishing — ridge vent install, capping, sealant on all penetrations.
- 07
Day 7: Final walkthrough, photo documentation, gutter clean, site cleanup.
Closed-cell spray foam: the right call here
The owner had asked about three insulation options. Here's how we walked through them:
| Insulation | R-value per inch | Air seal | Cost (relative) | Best for |
|---|---|---|---|---|
| Blown cellulose | R-3.5 | Poor (settles over time) | 1.0x | Tight budgets, simple geometries |
| Open-cell spray foam | R-3.7 | Good | 2.0x | Sound dampening, larger cavities |
| Closed-cell spray foam | R-6.5+ | Excellent (vapour barrier) | 3.0x |
This attic had two HVAC trunk lines and three return ducts running through it. With blown cellulose, those ducts lose heat all winter and gain heat all summer. With closed-cell foam applied to the underside of the roof deck, the whole attic becomes part of the conditioned envelope — ducts are inside the building, not outside.
The payback math for this house penciled at roughly 6-8 years based on the owner's prior heating bills.
The chimney rebuild nobody saw coming
The chimney looked fine from the ground. From the roof, the crown — the concrete cap on top of the chimney — had a crack running diagonally across the full width. Water had been entering the chimney for at least a few years, freezing inside the brick in winter, and slowly spalling the top courses.
What we did:
- Demolished and removed the existing crown
- Repointed the top three courses of brick with type N mortar
- Poured a new crown with overhang and drip edge (most builders skip the overhang — it's the detail that keeps water off the brick face)
- Installed new lead counter-flashing woven into the new brickwork, not surface-caulked
- Fitted a new chimney cap to keep rain and animals out
This is the kind of work that gets ignored on roof replacements because it's not 'roofing' — but it's the most common source of top-floor leaks we see in older Toronto homes.
Bundled cost vs. piecemeal
Comparing bundled vs. piecemeal for this specific project (approximations, not a public quote):
| Approach | Roof | Insulation | Chimney | Access/staging | Total relative |
|---|---|---|---|---|---|
| Piecemeal (3 separate jobs over 2 years) | 1.0 | 1.0 | 1.0 | 1.0 (paid three times) | ~3.4x |
| Bundled (this project) | 1.0 | 1.0 | 1.0 | 1.0 (paid once, shared) |
The savings on this project came almost entirely from shared access costs and shared mobilization — not from anyone discounting their trade rate. Owner saved roughly the cost of the chimney rebuild itself.
What the owner walked away with
At project close, the owner received:
- Manufacturer warranty on shingles, foam, and chimney materials
- Workmanship warranty from Blue Knight on all three scopes
- Single point of contact for any issue — one number to call, not three
- Full photo documentation of deck condition, foam coverage, chimney rebuild stages, and final shingle install
- Updated insurance paperwork noting the upgraded envelope (worth pursuing — some insurers credit recent roof and chimney work)
- Maintenance schedule (annual gutter clear, biannual roof visual, chimney inspection every 3 years)
Filed under
Blue Knight Roofing
Building-envelope specialists across the GTA since 1999.